There are days in life when manually entering lead data into your CRM System just might not seem like the best use of your time. If would-be-customers enter their data into your contact form, or an actual customer does order some goodie from your website, you should not have to schlep all over to your office PC (still have one?) to enter his or her details just so you can target that person in your next jolly email blitz.
Thankfully, your CRM did advertise with the blissful term marketing automation for a reason. If you are the corporate type, chances are your CRM already has you covered, just ask the fine people in IT that typically care for such things. If, like me, you are self-employed and your clients are small businesses, you’ll have to put in a bit of initial elbow grease.
Highrise & Wufoo make for a low threshold yet powerful marketing setup for small businesses.
My CRM of choice for my clients is Highrise. It is easy to use, SaaS, low-cost (from 24$ per month) and powerful while not overly complex. Pitfall: Its UI is only available in English, but so is this post. And while it does include an email marketing functionality called broadcast – which means that next jolly email blitz is covered – it does not include a functionality for public collection forms. That is what we are fixing today.
If you are going to spend time with one SaaS tool for forms, I suggest you use Wufoo. It is, in my book, the most powerful of the low-barrier, low-cost form providers in the market (their cheapest reasonable plan is 20$ per month). Wufoo includes an efficient forms editor, lets you use conditions and, most important for us today, gives you some nice APIs to work with that do not require any coding skills. Plus: It complies with strict EU data protection regulations.
And now for the practical part.
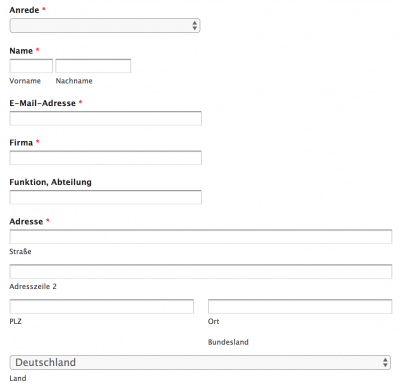
First, you want to set up your form in Wufoo. As an example we use a simple contact form shown below.
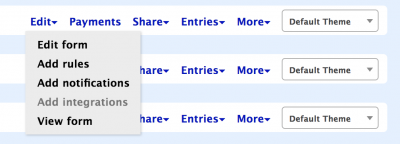
Save, preview and then grab a coffee – you completed the first 25 % of your task. Next, head back to the main page of your Wufoo account („form manager“). Hover over the edit-button next to your form and click „Add integrations“ in the context menu (see image below).
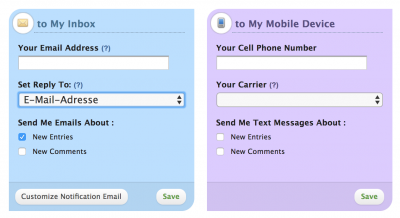
First, add the email address to which the form entries should be sent the old fashioned way. You might want that just fyi or to archive them. It might serve as a trigger for some kind of process you might cook up. You could also set up notifications via text message.
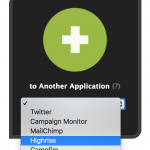
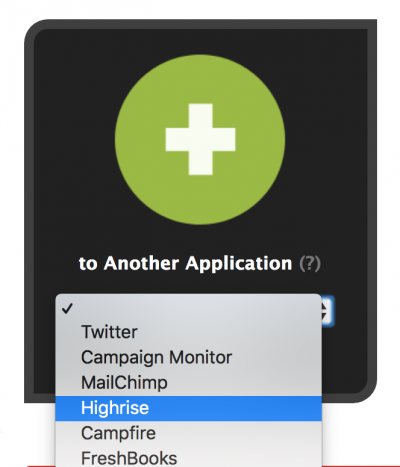
Right next to those settings you see a big plus sign with a select field and the words „to Another Application“. Choose Highrise from the select field an press „Add integration“.
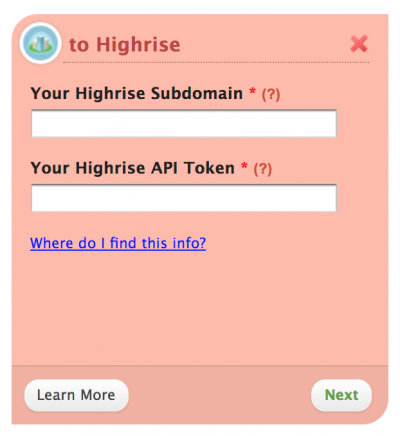
Now, enter your Highrise subdomain – the digits between „https://“ and „.highrisehq.com“ from your browsers address bar when you are logged into Highrise. You also need to enter your Authentication token from Highrise. You find that information in the „My info“ part of your Highrise profile (https://xxxxxxx.highrisehq.com/users/xxxxxxx/edit#integrations). Make sure you think about which Highrise users auth token you want to use – entries from that Wufoo form will appear as entered by this person. For added distinctness and security, you might want to create a user account just for form entries or for this particular form entry, but the number of accounts is limited depending on your largesse towards Highrise.
Now that the two systems are linked, we need to declare what data is exactly piped to Highrise when a form gets submitted.
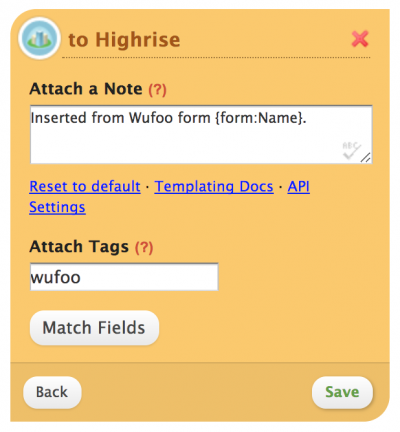
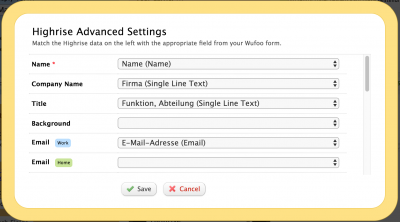
You might first want to add a tag that identifies your new entries in Highrise as having originated from this form. Then there are two tiers of data fields getting passed on here: Those that can be entered into the legacy Highrise data fields such as First name, Last name, Phone number, email and address. If our form should contain fields that do not match these fields, you’ll have to pass their contents to Highrise as a note that is attached to the contact. Luckily, our example form does not contain such fields.
(If they do: Click „API Settings“, which gives you al list of the ID numbers of your Wufoo fields. Then write up the note that will be attached to your entry in Highrise in the „Attach a Note“-Field shown below. The syntax for the placeholders for your field data is {entry:FieldX} – X is the number representing a fields ID.)
Just click on „Match Fields“ (see image above) and proceed to connect your form fields to the corresponding data fields in Highrise (see image below).
Be sure to test the form by filling it and then checking the result in Highrise.
That’s it, you’re done! New form entries now automatically create entries in your CRM System.
